⚡ Heads up: This post contains affiliate links. If you book or buy through them, we may earn a small commission — at no extra cost to you. We only recommend stuff we’d actually use ourselves.
TL;DR: Whistler Mountain Bike Park is the biggest lift-served downhill park in the world, with roughly 1,500 m (about 4,900 ft) of vertical, around 80 trails and four riding zones. The season normally runs mid-May to mid-October, and a realistic budget for a week of riding — flights excluded — lands somewhere around CAD 1,500–2,500 per person once you add lift tickets, a rental bike, accommodation and food.
By the WanderFunTrip team — updated September 2026. We ride, we crash, we write it down.
There are mountain bike towns, and then there is Whistler. Two hours north of Vancouver, on the traditional territory of the Squamish and Lil’wat First Nations, a ski resort figured out in the late 1990s that chairlifts work just as well in July as in January — and accidentally invented modern downhill culture. Three decades later, mountain biking Whistler is still the trip that every gravity rider on the planet has bookmarked, half-planned and never quite pulled the trigger on.
This guide is the practical version: what the zones actually are, which trails match your skill level, what the whole thing costs in 2026, and the handful of mistakes that turn a dream week into three days of riding and four days of icing a shoulder. No hype, no “you must send Dirt Merchant on day one” nonsense.
What makes mountain biking Whistler different from anywhere else?
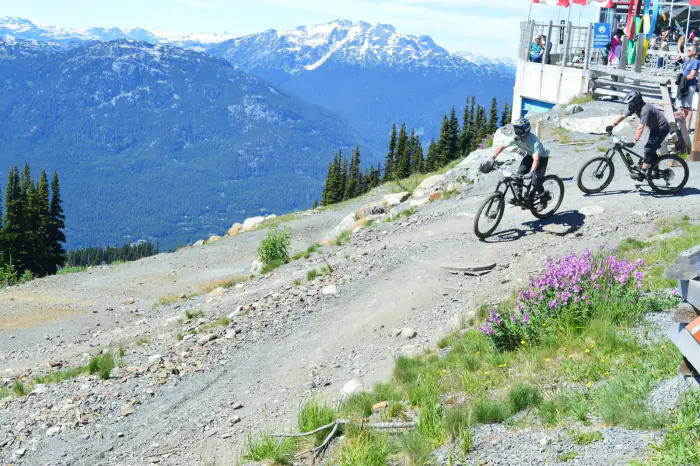
Whistler is different because of scale and repetition — you can ride the same trail eight times in a day until you actually get good at it, which almost nowhere else allows. The Whistler Mountain Bike Park stacks roughly 1,500 m (around 4,900 ft) of lift-accessed vertical into four connected zones, and a full day of laps can rack up more descending than a week of self-shuttling at home.
The park splits into four areas, and understanding them saves you a lot of confused chairlift rides:
- Fitzsimmons Zone — the base area, served by the Fitzsimmons Chair. Highest lap density, shortest lift ride, where 80% of riders spend 80% of their time. Home to A-Line, Crank It Up and B-Line.
- Garbanzo Zone — accessed by the Garbanzo Chair above Fitzsimmons. Longer, rawer, steeper, far fewer people. Runs of 8–10 minutes instead of 3–4.
- Creekside Zone — the quieter southern side of the mountain, with its own gondola and a more old-school, natural feel.
- Peak Zone (Top of the World) — the alpine trail off the very summit, reached via the Whistler Village Gondola and the Peak Chair. It usually opens later in the season than the rest of the park and closes fast in bad weather.
The other differentiator is trail craft. Whistler’s build crew maintains the park daily, which means berms stay shaped, jump lips stay predictable and blue trails genuinely ride like blue trails. That consistency is why so many riders make a jump in ability here in one week — the trails let you commit.
Outside the park, the Whistler Valley holds a completely separate cross-country and enduro network: Lost Lake’s mellow loops, the technical classics around Cheakamus and Function Junction, and the big alpine days like Lord of the Squirrels on Sproatt Mountain (a serious ride of roughly 30 km with well over 1,000 m of climbing) or Comfortably Numb, an all-day technical epic of around 24 km. You do not need a lift ticket for any of it.
When does the Whistler Bike Park open in 2026, and when should you go?
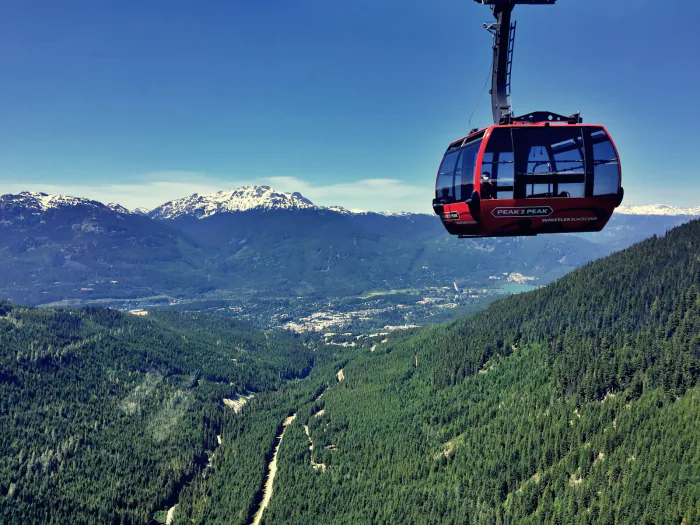
The Whistler Mountain Bike Park normally opens in mid-May and runs to around mid-October, but the zones come online in stages rather than all at once. Fitzsimmons opens first, Garbanzo and Creekside follow as the snowline retreats, and Top of the World is typically the last to open — often not until late June or into July, depending on the winter. Always check the resort’s live status page before you book non-refundable anything.
Month by month, the trip changes character considerably:
| Period | Conditions | Crowds & cost | Best for |
|---|---|---|---|
| Mid-May – mid-June | Tacky dirt, some rain, upper zones may still be closed | Lowest of the season | Grip-hunters and budget trips |
| Late June – early July | Full park usually open, long daylight | Moderate, rising | The all-round sweet spot |
| Crankworx week (usually late July) | Hot, dusty, electric atmosphere | Peak everything — book months ahead | Spectating more than riding |
| August | Dry, dusty, braking bumps deepen; wildfire smoke possible | High | Guaranteed sunshine |
| September – mid-October | Rain returns, dirt gets perfect again, larch colour up high | Dropping fast | Best value + best grip |
If we had to pick one window: the first two weeks of September. The summer queues have gone home, the dirt has had a rain cycle or two, and lodging rates soften noticeably once school starts. The trade-off is shorter days and a real chance of riding in the wet — which, honestly, is what Coast Mountain riding is supposed to feel like.
Which Whistler trails should you ride at your skill level?
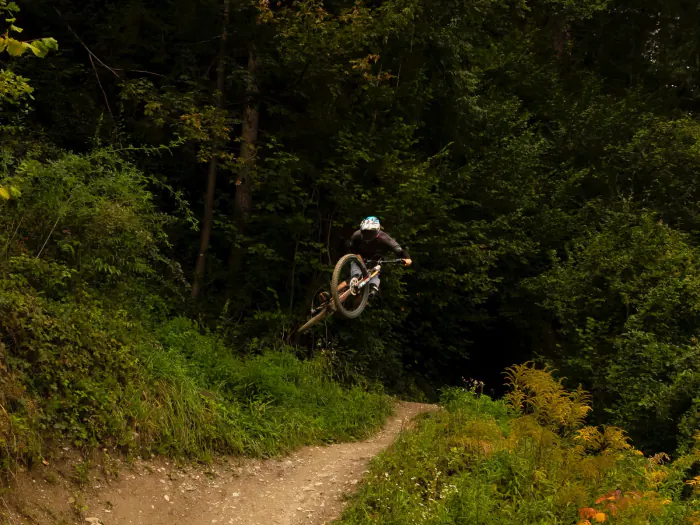
Start on B-Line and Crank It Up regardless of how good you think you are — Whistler’s grading runs harder than most European or East Coast parks, and the first day is for calibration, not heroics. A rider who comfortably clears blacks at home should plan to spend a full morning on greens and blues before touching anything with a double diamond.
| Trail | Zone | Grade | Why you ride it |
|---|---|---|---|
| B-Line | Fitzsimmons | Green | Your first-ever park lap. Wide, rollable, forgiving. |
| Crank It Up | Fitzsimmons | Blue | The jump-learning trail. Every lip is rollable until you’re ready. |
| Ninja Cougar | Fitzsimmons | Blue | Flowy, playful, far quieter than A-Line’s queue. |
| A-Line | Fitzsimmons | Black | The most famous jump trail on earth, ending in the Crabapple Hits. |
| Dirt Merchant | Fitzsimmons | Double black | Big, mandatory-gap jumps. Session it only when A-Line feels slow. |
| Original Sin / Freight Train | Garbanzo | Blue / Black | Long, raw, alpine-feeling descents with real fatigue. |
| Schleyer | Fitzsimmons | Double black | Old-school tech: roots, rock rolls, wooden features. |
| Top of the World | Peak | Blue (exposed) | Alpine ridge descent from the summit. The photo you came for. |
A sensible three-day progression looks like this: Day 1 — B-Line, Crank It Up, Ninja Cougar, repeat until the bike feels like yours. Day 2 — add A-Line and a Garbanzo lap to test your endurance. Day 3 — Top of the World in the morning while the alpine is clear, then session one jump trail all afternoon. If you’re used to European mountain resorts, our Interlaken adventure guide is a useful benchmark for how differently alpine operators price and grade a day in the mountains.
Enjoying This?
Get more guides like this — plus flight deals — sent straight to your inbox.
How much does a mountain biking trip to Whistler cost?
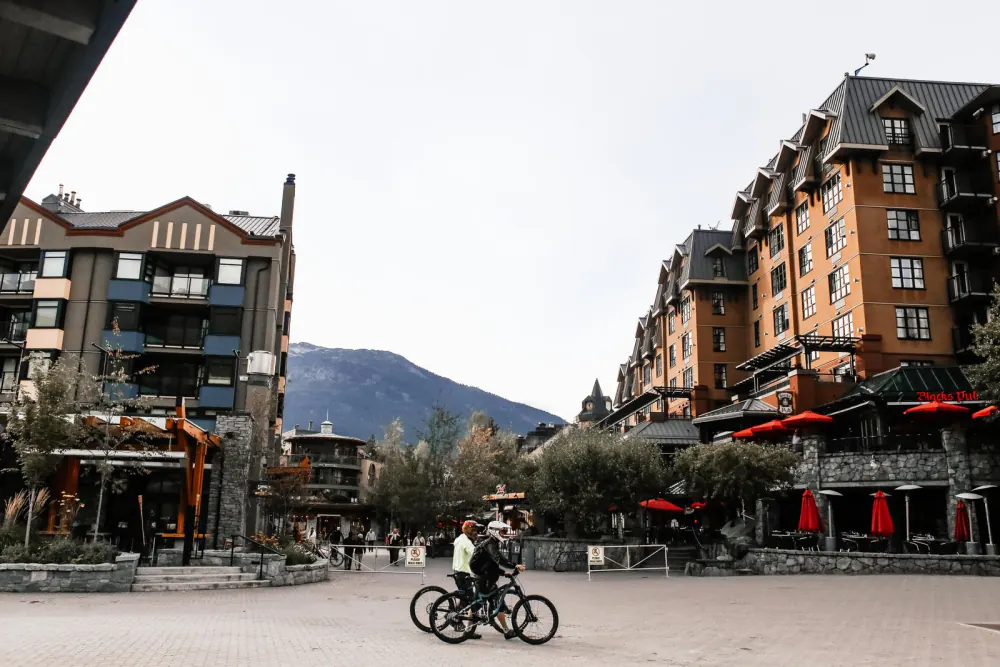
Budget roughly CAD 1,500–2,500 per person for a week on the ground, excluding international flights — the two dominant line items are lift access and bike rental, and both drop sharply if you buy multi-day rather than day-by-day. Prices below are approximate 2026 planning figures; the resort adjusts rates seasonally and dynamically, so treat them as ranges, not quotes.
| Item | Approx. cost (CAD, 2026) | How to spend less |
|---|---|---|
| Bike park day ticket | around $120–170 | Buy 3–5 day packs online well in advance |
| Downhill bike rental | around $150–230 per day | Multi-day rate, or bring your own bike |
| Full armour + full-face rental | around $40–70 per day | Pack your own pads; rent the helmet only |
| Accommodation (per night) | around $60 hostel to $350+ hotel | Stay in Creekside or split a condo with riders |
| Food & drink (per day) | around $60–110 | Cook breakfast, pack lunch, skip mid-mountain |
| YVR ↔ Whistler shuttle (return) | around $120–180 | Share a rental car between three or four |
| Half-day coaching (group) | around $150–250 | Book one session early, not late |
The flight is the wildcard. Whistler’s gateway is Vancouver International (YVR), roughly 120 km and a two-to-two-and-a-half-hour drive south along Highway 99, the Sea to Sky. Shoulder-season fares to Vancouver are dramatically cheaper than mid-August ones, so it’s worth setting an alert and letting the price pick your dates — you can compare flight prices to Vancouver here before you lock in lift tickets or lodging.
One more cost people forget: bike bag fees. Most carriers now charge a sporting-goods or oversize fee each way, and it frequently exceeds what a week of decent rental would cost. Do that maths honestly before hauling your own frame across an ocean.
What gear, skills and insurance do you actually need?
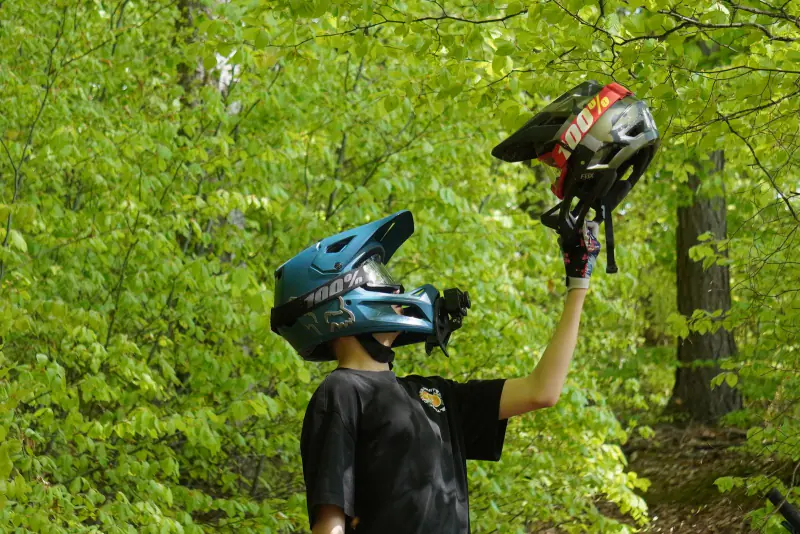
The non-negotiables are a full-face helmet, goggles or riding glasses, knee pads and gloves — Whistler’s park staff will turn you away from lifts without a helmet, and the local dirt is coarse enough that a low-speed slide takes skin off through a t-shirt. Everything beyond that is comfort and confidence.
The gear list that actually matters:
- Full-face helmet — rent or buy, but wear it. Half-shells are for the valley trails, not the park.
- Knee pads and elbow pads — hard-shell knees for jump trails, softer sleeves for long pedal days.
- Gloves and eye protection — dust in August, mud spray in September. Both blind you.
- Spine protector or armoured jacket — optional, but standard in Garbanzo and on the tech trails.
- Rain shell — Coastal BC weather changes on the chairlift ride, especially up in the Peak Zone.
- Two pairs of riding shorts — nothing dries overnight in a damp condo.
- Bear spray — for valley trails, not the park. Whistler has a genuine black bear population and they use the bike trails too.
Insurance is the piece riders skip and regret. Canada has no reciprocal healthcare arrangement with most countries, and a helicopter evacuation plus a night in a BC hospital with a broken collarbone runs into five figures. Standard travel policies routinely exclude downhill mountain biking, competitive riding and anything the insurer classes as an “extreme sport” — read the exclusions list, not the headline. A policy that explicitly covers downhill and enduro riding, like EKTA’s adventure-sports travel cover, costs a fraction of one lift ticket per day and is the single cheapest risk you’ll ever buy down. We’ve broken down the fine print in more detail in our guide to how adventure sports travel insurance works.
On skills: book a coaching session on day one or two, not day five. Half a day with a Whistler instructor rebuilds your body position, teaches you how to actually load a berm and — critically — shows you which features on A-Line you should not be attempting yet. Riders who take a lesson early consistently ride more trails, more confidently, for the rest of the week. Riders who take one on the last day just find out what they missed.
Frequently asked questions about mountain biking in Whistler
Do I need a downhill bike to ride the Whistler Bike Park?
No — a modern enduro bike with around 150–170 mm of travel handles the vast majority of the park comfortably. A full downhill bike shines on Garbanzo’s long, rough descents and on the big jump trails, but it’s heavy and awkward everywhere else. If you’re renting anyway, take the DH bike for one day and an enduro bike for the rest.
Is Whistler good for beginner mountain bikers?
Yes, genuinely — the green and blue progression trails are among the best-built beginner terrain anywhere, and the park runs a well-regarded beginner lesson programme with bike and gear included. The mistake beginners make isn’t coming to Whistler; it’s leaving the green trails too early because everyone online talks about A-Line.
How many days should I spend mountain biking in Whistler?
Four to six riding days is the sweet spot. Fewer than three and you’ll spend most of your time calibrating rather than progressing; more than six consecutive days of lift-served descending and your hands, forearms and shoulders will make the decision for you. Build in at least one rest day for the valley XC trails or Lost Lake.
Does travel insurance cover downhill mountain biking in Whistler?
Often not by default. Many mainstream policies exclude downhill, freeride and competitive mountain biking, or cap medical payouts far below Canadian treatment costs. Check that your policy names mountain biking explicitly, covers helicopter evacuation, and doesn’t void itself for riding above a certain trail grade.
Can you mountain bike in Whistler without buying a lift ticket?
Absolutely. The Whistler Valley trail network — Lost Lake, Cheakamus, Sproatt, Comfortably Numb — is free to ride and world-class in its own right. Many locals barely touch the park. Bring or rent a trail bike, ride the valley on your non-park days, and your budget improves significantly.
Is Crankworx a good time to visit Whistler?
It’s a great time to watch and a mediocre time to ride. During Crankworx week — typically late July — accommodation prices spike, lift lines lengthen and several signature trails close for events. Go if the festival itself is the point; avoid it if you’re there to log laps.
The bottom line: book the dirt, not the dream
Mountain biking Whistler earns its reputation, but the riders who leave happiest aren’t the ones who sent the biggest gap. They’re the ones who showed up with the right pads, booked a lesson on day one, spent an entire morning on a blue trail until it felt effortless, and had insurance they never needed to use. Whistler rewards patience much more than bravado — the mountain is far too big to conquer in a week, and it will still be there next season.
Here’s your next three moves. First, pick your window — early September for value and grip, late June for the fully open park. Second, check flight prices into Vancouver for a few candidate weeks and let the cheapest fare choose your dates; shoulder-season savings there often cover two or three days of lift tickets. Third — before you pay for a single thing — sort travel insurance that actually covers downhill riding, because the one thing you cannot buy at the bike park ticket window is a policy that already started.
Then get on the Fitzsimmons Chair, drop into B-Line, and do it seven more times. That’s the whole trick.
Never Miss a Deal
Get the best travel tips, festival guides & flight deals straight to your inbox.

Gbuska is the founder and lead writer at WanderFunTrip. What began as one too many 3 a.m. festival fields and a $40 flight booked on a whim turned into a full-time habit of testing adventure trails, party cities, and adults-only resorts firsthand — then writing up what actually worked (and what didn't). Every guide here starts from a real trip or a real booking, never a press release. Usually somewhere between a departures board and the next cliff jump.